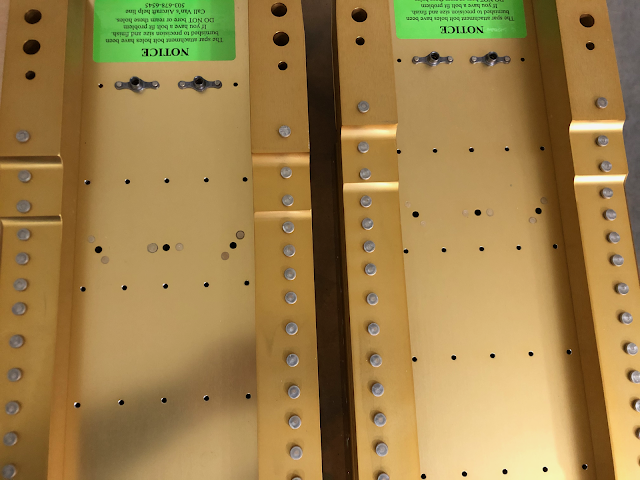
I countersunk and primed the spar webs and used the backrivet set and plate to set rivets in each nutplate. Quick job done fast.
 |
| You may notice the larger AD4 rivet on the left spar. I forgot to reset the countersink cage and cut the spar way too deep for an AD3 rivet, so I went up a size. The AD4 rivet works just fine here. |
Onto the main event - riveting the main ribs!
As I clecoed the main ribs on again I noticed that there were gaps between the rib and spar flanges, probably because the flange tool I made overbent the flanges. A quick rebending with the hand seamer and everything was flush again.
 |
| No good, but at least it's an easy fix. |
Once the main ribs were all attached I had to come up with a game plan for getting this thing fastened together. It's suggested to use an offset rivet set for the ribs, but past experience has taught me that I HATE using the offset rivet set and that I wanted to use the straight AN470 set as much as humanly possible.
To facilitate this I decided to slightly flex each rib enough to fit the rivet gun and shoot the middle three rivets with the straight set. This way, I only have to use the offset one for the top and bottom two rivets, hopefully avoiding a substantial amount of pain and suffering. I left the rear spar off to allow the ribs to flex out of the way since they wouldn't have been able to otherwise.
I'm happy to say that my plan worked as intended and resulted in only a couple of squashed factory heads accompanied by fervent cursing as I drilled them out and replaced them. I still hate using the offset rivet set but at least the job is done.
The ribs for the wing walk area are too close together to comfortably fit the rivet gun. Thankfully the three inboard ribs all face the same way so it was easy to only attach and rivet one rib at a time, giving me plenty of room to work.
 |
| Lots of tape to protect the spar. |
 |
| The plans specifically state to put the factory head on the rib flange to avoid distorting the parts, but I still ended up with a little deformation here and there. |
It was then that I took another look at the plans and noticed that the rivets for the outboard rib would need to be flush. Only one problem with that - I never dimpled those holes and that would be THREE layers of aluminum to dimple at once. Oooooookay, machine countersinking it is.
Countersinking for the flush rivets went smoothly, except the cage was too big to let the bit reach to top hole. Thinking quickly, I grabbed my electric screwdriver and improvised.
Thankfully all of the rivets on the rear spar can be set with the rivet squeezer, which made it a downright delightful experience compared to the main spar.
While taking a break from squeezing rivets I got curious and laid a wing walk doubler on the ribs just to see what it would look like.
 |
| Exciting! |
Finishing up the rear spar, my right wing skeleton was done! Now, to get this thing onto the stand...


