My wings finally arriving gave me a reason to get back out there, but I had to wait a bit for them. I ordered my tail at Oshkosh, and it arrived less than two weeks later. The empennage kits tend to ship pretty much immediately, probably because Van's receives a lot more tail orders than wing orders and it makes sense to keep those in stock and ready to go. However, every subsequent kit from the wings onward has around an eight week lead time to give them time to put everything together. I ordered the wings back in November, and they arrived almost 8 weeks later to the day.
I took the opportunity to clean out the shop before the boxes arrived. Working out of a single bay in a garage means that space has to be used wisely or it will run out quickly. There were tools and parts floating around everywhere, so it was time to organize everything so I didn't drown in a sea of aluminum.
 |
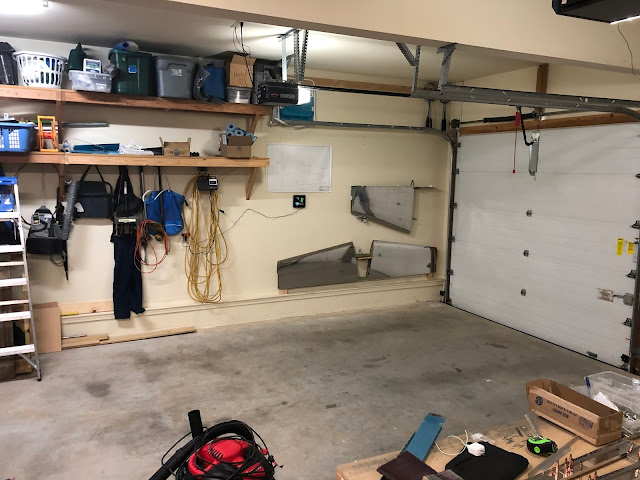
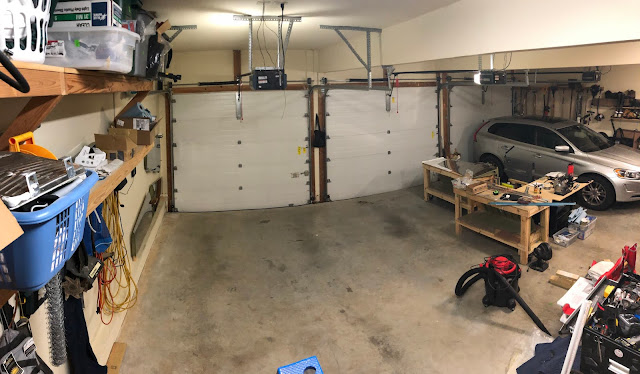
| The work area, cleared and swept. |
 |
| Looking at all this room makes me wish I could use both bays. I'd have no problem fitting the fuselage in here! |
The boxes arrived on a short semi truck, which was mostly empty except for a few packages near the front and my own two crates. Instead of cardboard, the boxes are now wooden crates weighing between 200 and 300 pounds each. Thankfully they were manageable with two people and a liftgate.
 |
| If I had to guess, I'd say the spars are in the long box and the skins are in the other one... |
I was pretty excited for this. It seems like most people see the inventory as being tedious and boring, but to me it's exciting. Unwrapping and going through each part on the list is like watching the opening credits to a Mission Impossible movie. You get a preview of all the exciting moments you'll have along the way.
Crowbar in hand, I pried the lid off the big box first and got to work. The packing/inventory list is right on top. As with the tail kit, no space is wasted. Every cubic inch of the inside in packed with either aluminum, fiberglass, or the paper they're wrapped in.
 |
| It was fun trying to guess what parts each bundle contained. Some were easier than others... |
The long box did in fact contain the wing spars, but it turns out that the spars aren't what accounted for the long length. Buried under the paper and other assorted parts are the longerons used when building the fuselage. The paperwork explains that it's easier to include them with the long wing spars now instead of shipping them in a separate long box alongside the rest of the fuselage parts. There's a small ledge running along the wall that's perfect for storing these.
It was at this point that I began running out of shelf space, so I made a quick Lowe's run and bought some storage shelves to put everything on.
 |
| I wish I had gotten these sooner. Everything is so much more accessible! |
The skins proved to be the most challenging part of the entire inventory simply because I wasn't sure where I was going to put them. I didn't have the horizontal space to lay them flat, so they would have to be hung up somehow. I figured the best way to accomplish this was to use string (to avoid scratching anything) and some leftover spindles from an old deck project.
 |
| The space under one of the wooden shelves was perfect for hanging the smaller skins. The spindle rests on some long screws, so there's little chance of them coming loose and falling. |
 |
| The aileron, flap, and fuel tank skins nestle into each other well enough that they all fit onto one shelf. |
With the skins hung, the inventory is done. There were a few ribs and pieces of hardware that are backordered and won't arrive for a few more weeks, but I can definitely start work on the wings with what I've got. The entire inventory took a few days this time, but was still pretty enjoyable. The shop especially looks way more clean and organized than it did when I started on the empennage.
 |
| This should do nicely for the next few months! |
I finally have every non-airplane-related thing off of the walls. If I can just clear off those wooden shelves on the side wall and move the old workbench, then I'll have the entire bay in which to build. I'll probably need the room when it comes time to fit the fuselage into this space.
The wing inventory gave me a good reason and opportunity to get back outside after a few unproductive weeks. My goal now is to keep things going by finishing the empennage and getting started on the wings. The journey continues!


