 |
| Ready to go! |
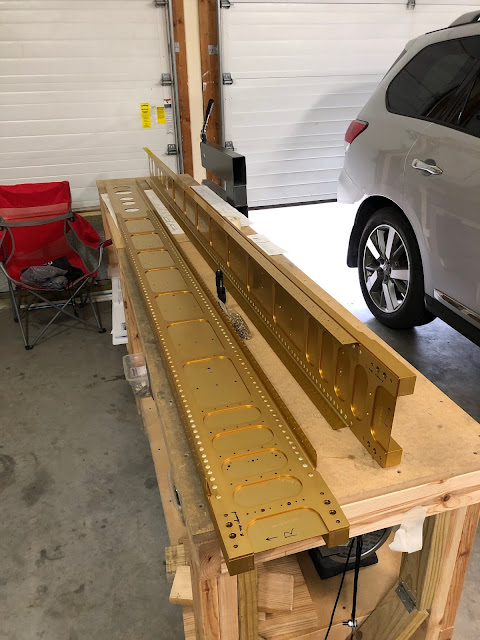
Initially I followed the instructions and started with the main spars. The first task here is to inspect the spars and prepare to countersink a few hundred holes to allow for the installation of platenuts that will eventually attach the fuel tank skins to the spars. I inspected the spars and gave them some labels, but after reading ahead in the plans I decided to hold off on working on the spars for now. I haven't yet built any kind of wing stand and space is limited as is, so I'm going to start with the smaller ailerons and flaps since they'll take less time and be easier to store.
Building the control surfaces is similar to the elevators and rudder, so this was a good way to ease into things on the wings. The ailerons are up first, and just like the elevators the process starts with fabricating some stiffeners. The stiffeners again come in long pieces that must be trimmed apart then trimmed and smoothed to their final shape.
Hoo boy, hours and hours of work starts now.
 |
| Raw stiffeners. Looking at these almost fills me with dread knowing how long they'll take to finish... |
Thankfully the stiffeners are just about the perfect length to cut on my bandsaw. No need to use the shears and warp any metal.
The final shape of these stiffeners is slightly different from that of the elevators and rudder since the ailerons are thinner control surfaces, but the process of marking and cutting from notch to notch is exactly the same.
 |
| Marked... |
 |
| Cut... |
 |
| ...and smoothed. This is a good before and after comparison. |
Unsurprisingly these took a long time to finish. Each of the 32 stiffeners takes around 15-20 minutes of work to finish, so I was in the shop for a good 10 hours.
 |
| Seeing these all of these finished in a row is so satisfying. |
With the stiffeners smoothed I could match drill them to the aileron skins. It feels good to finally take them down from the shelf on which they've been hiding.
Once again the process is exactly the same as match drilling the stiffeners for the elevators.
The only difference from the elevators is that here all of the stiffeners are the same length, so labeling where each stiffener was drilled is extremely important to ensure things line up when it's time to rivet. The system I came up with was to label each stiffener based on whether it was on the (L)eft or (R)ight aileron, the (u)pper or (l)ower side of the skin, and which position it's in down the line starting at the inboard side (1-8). For example, the third from the inside stiffener on the upper left aileron skin would be the "Lu3" stiffener.
I did have a small issue arise when I discovered that each skin actually has a designated top and bottom side. Apparently the bottom side is the one that has some closely-spaced holes near the middle:
 |
| Lesson learned: read EVERYTHING before you start. |
I had already finished match drilling everything at this point so I checked to see whether I had messed anything up. The right aileron was oriented correctly, but the labels on the left aileron are actually inverted. This won't really be an issue since everything is symmetrical, so as long as I rivet everything according to the labels I've already made then I'll be fine.
 |
| A small modification to make this label slightly less inaccurate. ;) |
The last task for now is to deburr everything, another hours-long process. I had deburred the stiffeners as I took them off the ailerons and I had already deburred the insides of the holes in the skins, but to get to the outsides of the holes and the edges of the skins I needed to remove the blue vinyl. Out came the soldering iron.
 |
| I'm getting pretty good at this! |
The corners of the skins were a bit sharp, so I rounded them off with a file after smoothing the edges of the skins.


