 |
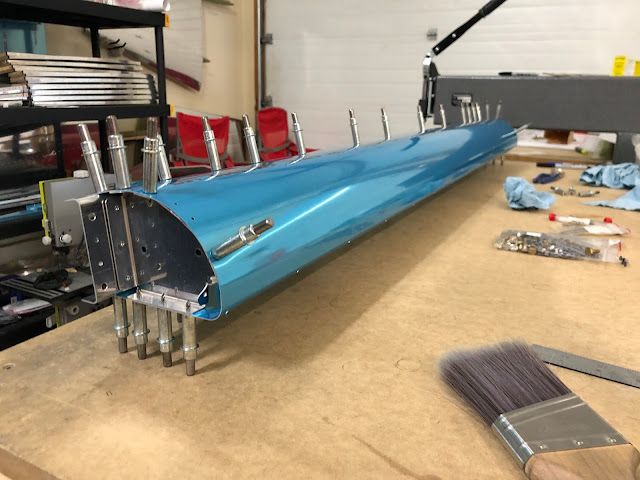
| Pieces temporarily in place. |
There's a plethora of different sized holes to be drilled here, so I spent a long time trying to fully understand how everything would connect and which size rivets would go where.
 |
| Learning from my past mistakes, I probably spent 30 minutes staring at this diagram before I started drilling anything. |
 |
| After a while I finally had the answers I needed. |
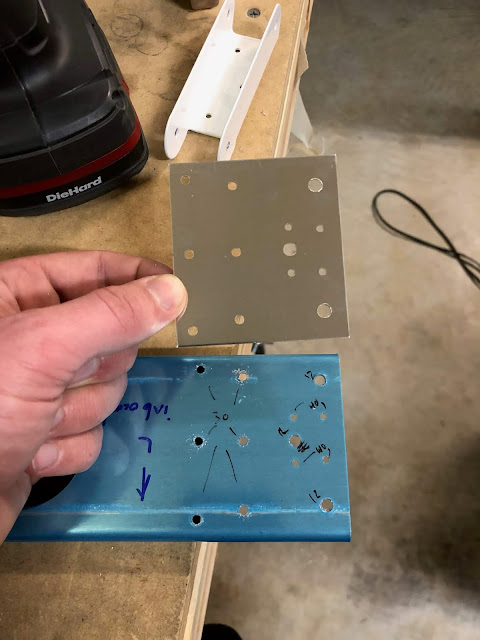
Eventually I figured everything out and prepared to drill. The doubler plates needed to be centered on the spars so I drew a line down the middle of each to make sure things were lined up. I clamped them in place and drilled the various holes in each.
With these all done I clecoed the ribs in place on either end and attached the forward skin for match drilling.
 |
| Ooh, this looks neat! |
The roundish ribs on each end that will hold the counterbalance pipe in place have two holes each that must be match drilled to the skin.
I then needed to match drill the holes in the end ribs that attach the aft skins. The inboard ribs were easy to drill since there is so much space in this area, but the forward skin interfered with the drill when trying to drill the outboard ribs. I ended up having to disassemble everything just to drill the four holes into each outboard rib.
 |
| If I had a super long #12 bit I might have been able to make this work, but oh well. |
The only drilling left to do at this point was drilling the aft skins and the counterbalance pipes, so I clecoed everything together and marveled at my new ailerons.
 |
| Nice! |
Drilling the steel counterbalance pipes requires a sharp drill bit, a fast drill, and lots of cutting oil. Luckily I had all three, but it still took a good 30 seconds to a minute to drill each hole. The most difficult part of the whole process was making sure the drill bit stayed perpendicular to the pipe under the skin.
 |
| Between the cutting oil and the metal shavings, this got messy. |
By the time I had finished drilling both pipes I had gone through two #30 drill bits. Galvanized steel dulls bits quickly even with sufficient lubrication!
 |
| This took a while. Note the cardboard showing what perpendicular to the pipe looks like. |
The leading edge is where most of the holes for attaching the pipe are needed, but there are two aft holes that attach the pipe to the round end ribs. Drilling these took some creativity with a long #30 drill bit.
 |
| I found out after I had drilled everything that this is the exact method recommended in the plans. Good thing I got it right! |
It was at this point I noticed that the skin was bulging a bit between clecos because of how springy it is.
I tried putting clecos in every hole just to make sure that things would smooth out, and thankfully they mostly did. I'm still going to use the edge forming tool on these to make sure things stay flush after riveting.
For match drilling the main spar the top holes are reamed to #40 as per usual, but the bottom ones are enlarged to #30 for CS4-4 blind rivets since there's no way to buck or squeeze rivets here after everything is closed up. Drilling every other hole to #30 made for a nice picture with the clecos in place before I drilled the rest.
 |
| Artsy. |
Just for fun, I removed any remaining blue vinyl from the parts and clecoed the entire assembly together, hinge brackets and all.
 |
| Shiny! |
With the fun part out of the way it was once again time to spend a few hours deburring things. Cleaning up the edges of spars and ribs isn't fun, but doing things like rounding off corners on doubler plates can be pretty satisfying.
 |
| It's parts like this that make for a nice contrast from raw material to finished airplane part. |


