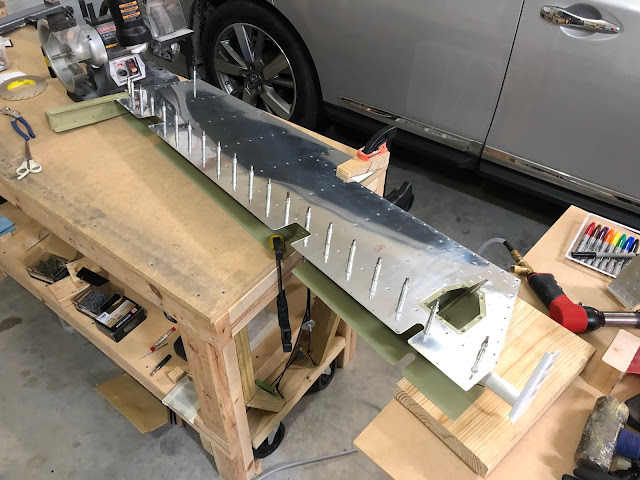
I decided to go the same route as the rudder and build a ground-based stand from some spare 2x4s lying around the garage for the elevators. I probably could have mounted them on the wall above the horizontal and vertical stabilizers, but I didn't want to run the risk of having one fall and having to redo dozens of hours of work.
Design-wise I made a couple of changes from the rudder stand. For one, this stand will hold both elevators so I made two cutouts for the rod end bearings in each support board. The whole thing also had to be a bit taller since there's a greater distance from the spar to the end of the counterbalance.
The finished product is actually a bit heavier and more stable than the rudder stand, so I definitely won't have to worry about the elevators taking any fall damage.
With the right elevator out of the way I could turn my attention back to the ugly tabs on the left elevator skin. I put the bending block back into place and used the hand seamer to bend the offending tab as flat as possible.
 |
| You can see where the tab started scraping off the primer. |
The unused 3M double-sided tape was still sitting in my tool chest from the failed attempt at using it for the rudder trailing edge, so I brought it out and put tape on both sides of the interior block and on the bottom of the top block. With the blocks stuck in place on the proper bend line, I clecoed in the spar to keep the skin from flexing too much then clamped everything down.
 |
| This time, nothing shall move unless I will it to do so. |
I started the bend with a wooden block. My goal this time was to bend the tabs as far as humanly possible with the block so I wouldn't have to use the rivet gun as much. No matter how much force I put on it I couldn't seem to get the tab to bend beyond about 50 degrees.
Out came the rivet gun. I reseated the clamps so everything was tight, took a deep breath, and started shooting. I'm pleased to report that the bend came out FAR better this time around. The only issue I had was that the flush set on the rivet gun wouldn't quite fit in the space for the rear trim spar, so I had to flex the skin a bit to reach the forward-most part of the tabs with the gun.
 |
| :) |
Removing the block did leave a lot of tape gunk behind, but it was easy to remove with just my fingers.
Leaving the inside block in its place I carefully flipped the skin and clamped things down on the other side. On the finished product the top tab is far easier to see than the bottom tab, so I needed to be careful not to make any mistakes that were TOO visible. Luckily things went well on this tab too.
 |
| It actually looks good! |
I did get just a little overzealous with the rivet gun on the forward part and I gave it a minor dent.
 |
| It's really not too visible unless you're looking at it from this specific angle. |
From most angles it should look fine though, especially once the trim tab is installed and covering up most of this area.
 |
| From this angle you can't even tell anything is wrong with it. Works for me! |
It was a stressful experience, but I finally got decent results out of these tabs. That said, I'm probably responsible for a lot of that stress since I started bending the tabs on the main skin instead of practicing on the trim tab skin first. The added pressure of messing up the skin with dozens of hours of work on it versus the one with an hour of work wasn't fun. The silver lining is that I pretty much have the proper technique down. I might just be able to join the prestigious "one trim tab" club reserved for those builders that manage to not mess up their one and only trim tab skin (requiring them to order one or more replacements).
To round out the evening I brought out the RTV and put a glob on each pair of stiffeners (there are only four this time). I clecoed the skeleton in place and left the assembly to cure overnight. Riveting starts tomorrow!


