

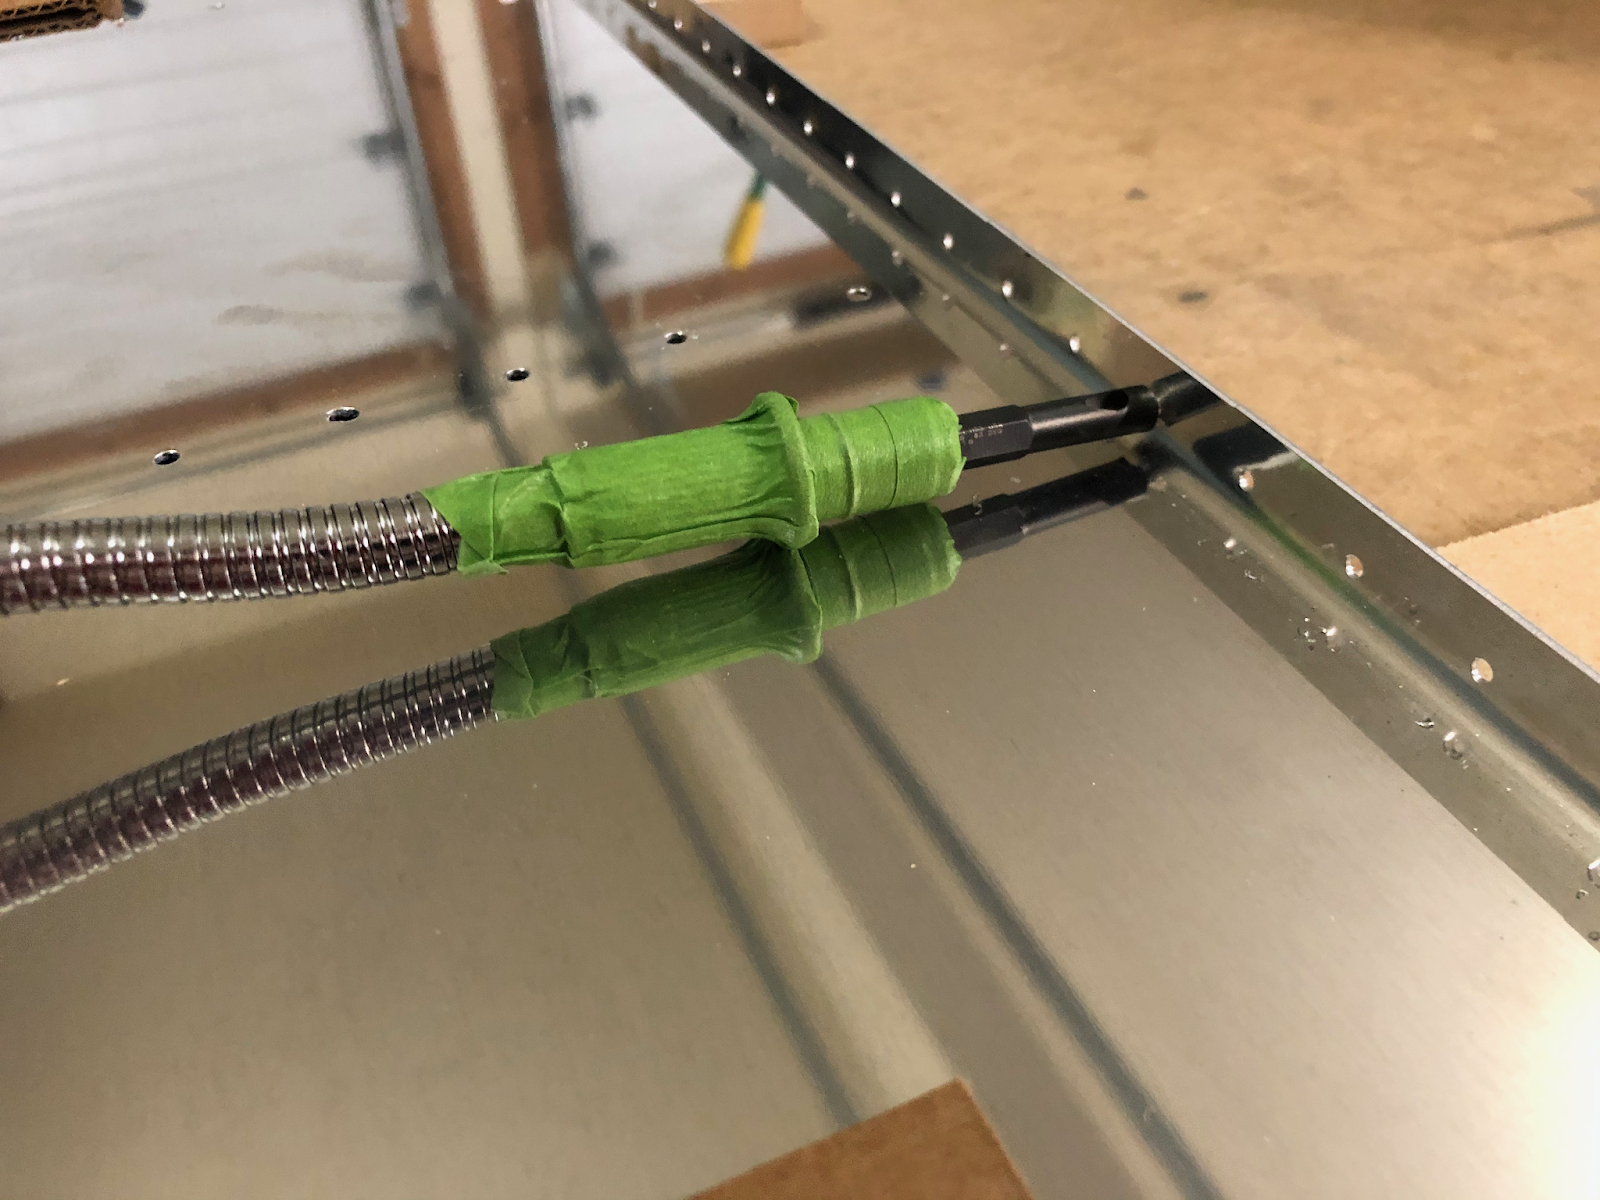
The deburring process took most of the day, as it usually does. Unfortunately there's not much I can do to make it get done any faster. The one thing I did discover is that a flexible drill bit attachment makes deburring the holes on the insides of rib flanges much easier on the fingers.
 |
| The cordless screwdriver doesn't fit in this space by itself so normally I'd have to do all of this deburring by hand. I wish I had started doing this sooner! |
 |
| The tape protects the alclad on the baffle since it won't be primed. |
The last task of the day was to match drill the fuel cap flanges on the top side of the tanks. Starting with the RV-14 and now with (I think) all of their new kits, Van's has started including their new style of fuel cap, the Newton SPRL. The caps themselves are plastic which looks a little cheap compared to the previous metal fuel caps, but the flanges themselves are a handsome red anodized aluminum which looks amazing when installed.
 |
| Sexy. |
One nice things about these flanges compared to the old ones is that the flange itself is machined to match the curvature of the inside of the skin, meaning builders no longer have to painstakingly shape the flange themselves. The holes are already drilled to final size in the flange as well, so all I really had to do was ream the #40 holes in the skin around the fuel cap cutout to make sure the rivets would fit. All in all, this is a very nice setup when compared to the old fuel caps Van's supplied.
The fuel caps themselves may be plastic, but then again I am used to using plastic caps on all of the Cessnas I fly. What's nice about these is that the latch mechanism seals tightly and can be opened and closed easily with one hand. One complaint about the previous Van's caps was that you'd have to really tighten the latch to make sure they sealed, tight enough that you might need to use a tool to get enough leverage to open the cap.
 |
| It may be plastic, but it doesn't look half bad once it's installed. Plus it won't stick out so much once it's painted. |
For those that don't like the look of the plastic, Aerosport Products sells top sections made from aluminum that replace the large plastic disc part of the cap for a more durable appearance. I had considered going for these, but they unfortunately don't work with the locking version of the SPRL caps. I think I'll get over the plastic look eventually, so I decided to order the locking SPRL caps from Van's instead and use the originals as backups in case I lose the new ones.