
The first step here is clamping on the cover plate and match drilling the final screw holes. I started by using the #21 bit to match drill these holes since it fit perfectly through the prepunched holes in the plate. The holes were large enough to accommodate the screws that will be used to install the plate, but tight enough that the screws couldn't just be pushed through and had to be threaded into place. I took advantage of this by using the screws as temporary fasteners (the #30 and #40 clecos didn't work here) while match drilling, but I went back after I was done and enlarged the holes to their proper #19 size.

Next was clamping on the stiffener ring and match-drilling the holes for the nutplates through the rib.

The cover plate needs to be attached flush to the outside of the rib to seal it, so the nutplates have to be installed with AN426 flush rivets. This means dimpling the rib and then machine countersinking the stiffener ring to allow the ring to also sit flush against the inside of the rib. I countersunk the ring and checked to make sure it fit flush with the rib.

I realized that I hadn't actually deburred the ring yet, so I took care of that with the scotchbrite wheel before cleaning the parts with MEK. Finally, I riveted the nutplates to the ring and the rib using the squeezer.


Next up was drilling holes for the fuel drain at the lower inboard corner of each tank. The main drain hole is already there, but the six holes around it need to be match drilled to rivet the drain itself to the skin. These could easily have been prepunched from the factory, but then again I did choose the RV-7 kit over the RV-14 kit so I've come to expect stuff like this.
Luckily, this is a quick and easy job. I did my best to clamp the drain as perfectly centered to the hole as I could, then drilled through the holes in the drain into the skin.
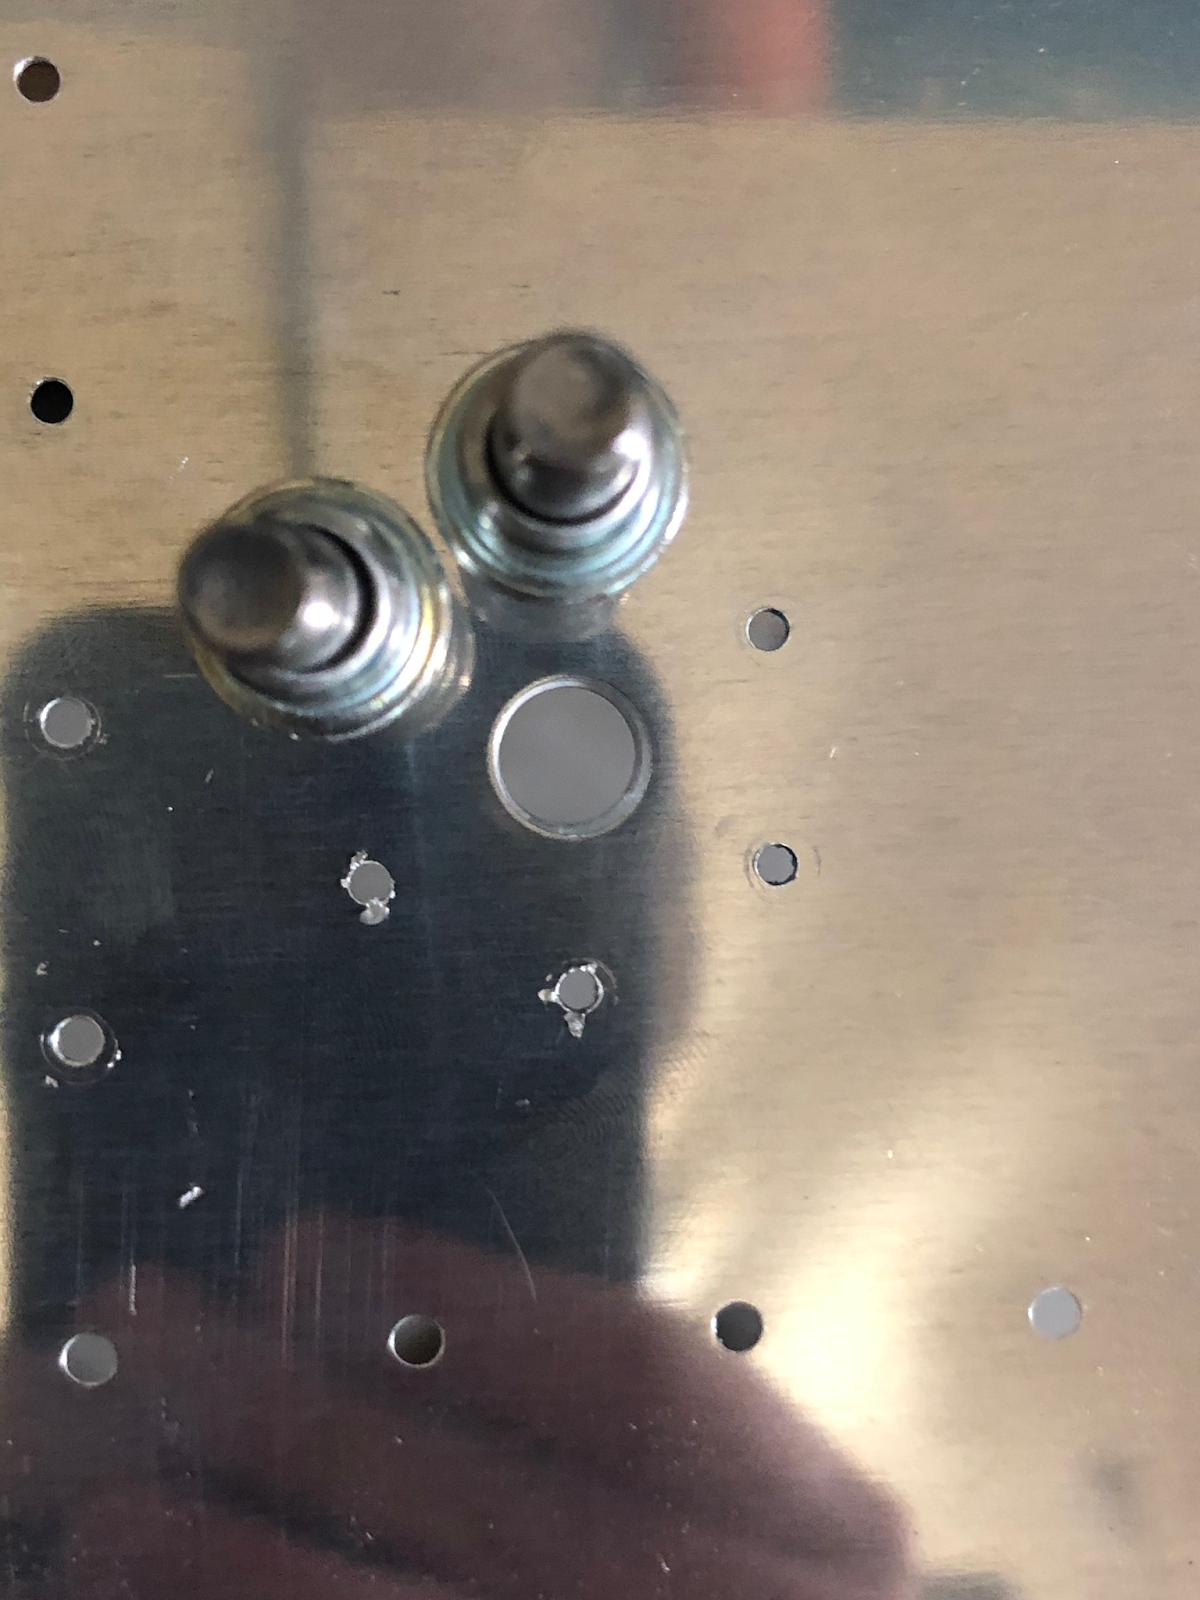
To help align the holes before drilling (the orientation of the holes really doesn't matter all that much, I just wanted the rivet pattern to match the one on the tank flanges) I drew a line thorugh the center of the drain hole.

I then repeated the whole process for the drain for the other tank.

