
The inboard corner of the spar is where a lot of force will be applied when extending and retracting the flap, so there are a couple of doublers here that will need to be match drilled to each other and to the spar. The doublers for the ribs are already drilled, but the angles for the forward side of the main spars needed to be fabricated and then match drilled.
There are a couple of large aluminum angles included in the wing kit, so it's important to make sure to use the right one. The plans call for the final piece being 2"x3/4", so the 2"x1 1/2" angle is the one to use here.
 |
| Trimmed to length... |
 |
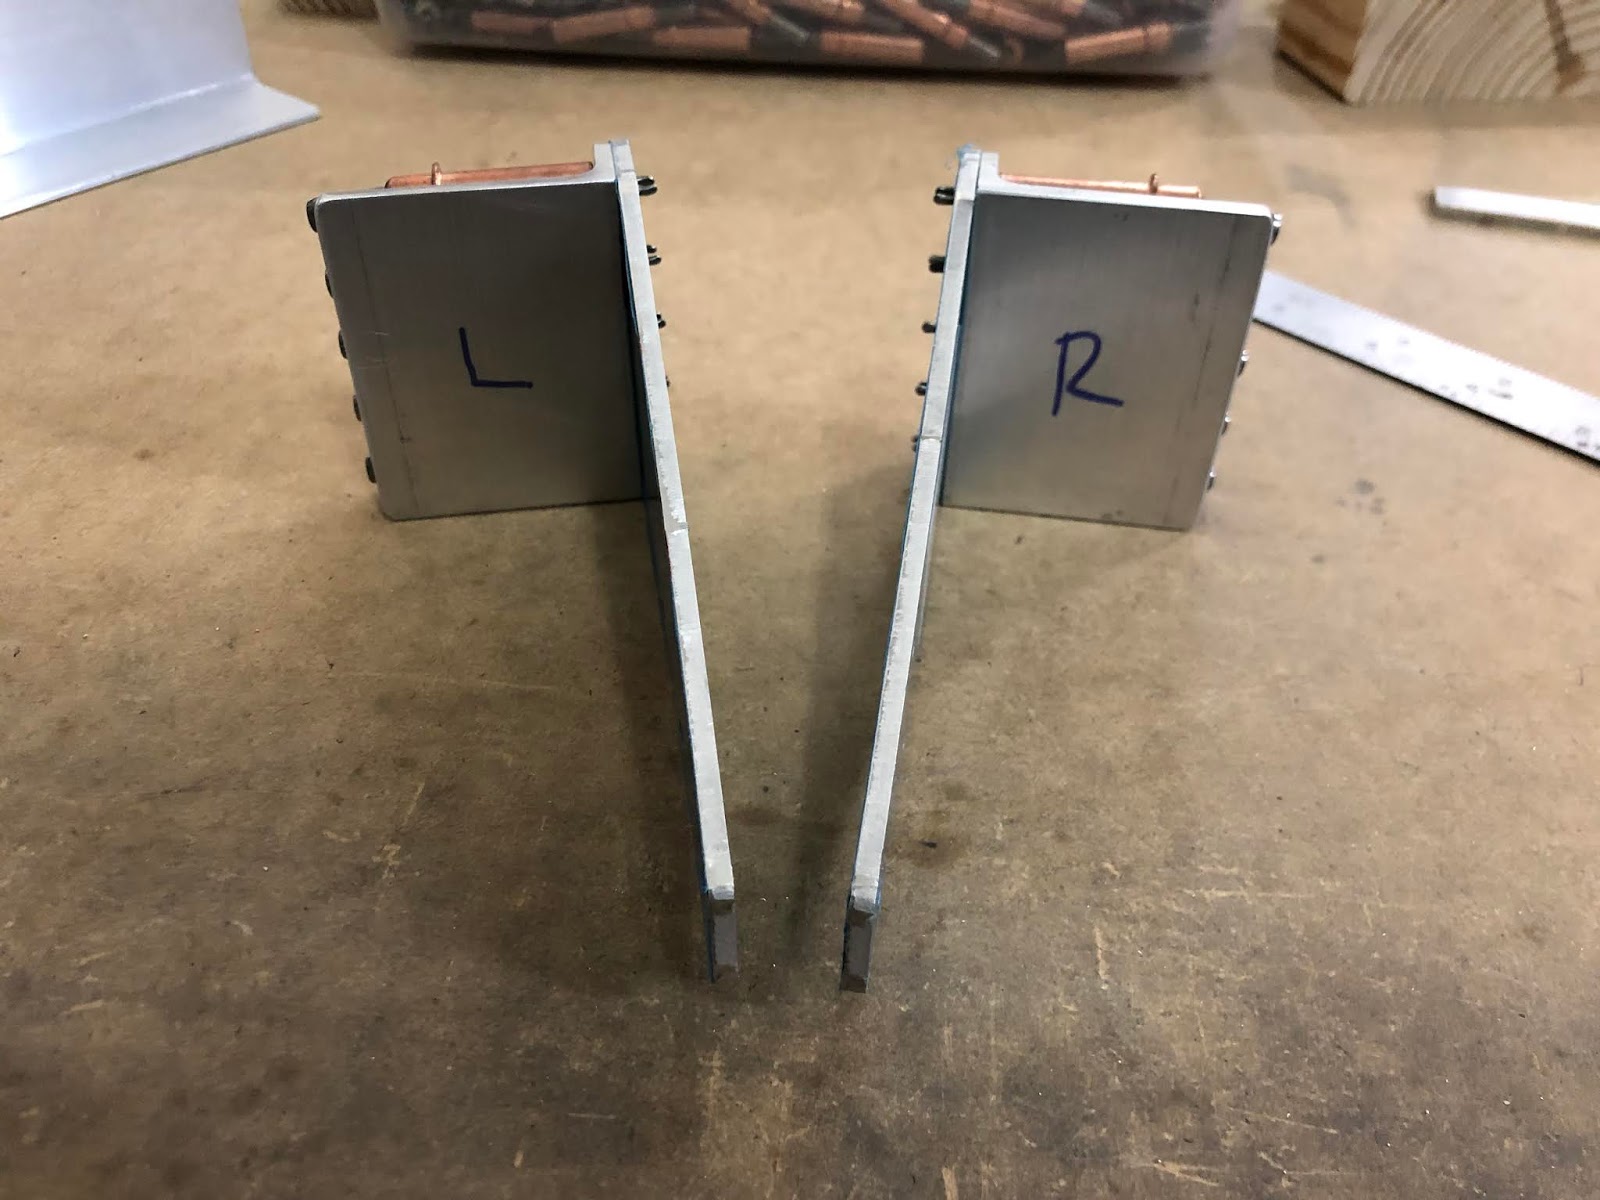
| ...and then to width. I almost burned myself with how hot these pieces got when being cut on the bandsaw. |
I rounded off all the corners and ground the edges to their final size and polish, then prepared to match drill the angles to the rib doubler. I clecoed both onto the flap assembly to line everything up, clamped the angle to the doubler, then removed them from the spar to match drill them.

The rib doublers needed to be bent to a 6.3 degree angle per the plans since the inboard ribs are angled inward. I used double sided tape and clamps to fix everything to my workbench, then went at it with some wood blocks and a hammer. I didn't get much progress out of this method though.
 |
| Starting to bend... |
I switched to using the hand seamer for more leverage and got much faster, more consistent results. With the bends completed I added the assembly back to the flaps and made sure everything was flush before match drilling the doublers to the ribs.


The final step here is to drill the necessary holes into the angles. First, the three holes that connect the spar to the rib are match drilled into the angles. I took off the top skin and used a long #30 bit to drill the middle hole with the bottom skin and the ribs still aligning everything, then removed the skins to gain access to the remaining two holes.

With these holes done I removed the angle and used the diagram in the plans to mark and drill the rest of the holes in the angle.

Since I didn't want the drill bit to wander out of place, I clamped on a piece of scrap metal with a pre-drilled #30 hole to act as a guide. It worked wonderfully!


The final product was almost exactly like the diagram in the plans.

I clecoed the angles to the spars, match drilled the holes, then called it a night. At this point I only have to drill holes for some platenuts in a couple of ribs, then it's time to deburr and prepare to prime the flap parts.