
But that will come soon enough. For now, let's start with the basics.
Since the fuel tanks are removable, they're bolted to the wing spars with the Z-shaped brackets. My job is to drill the necessary holes and install nutplates for these bolts to secure the brackets and the tanks to the spars. To start, the plans say to mark and drill the EXACT center of each side of each bracket.
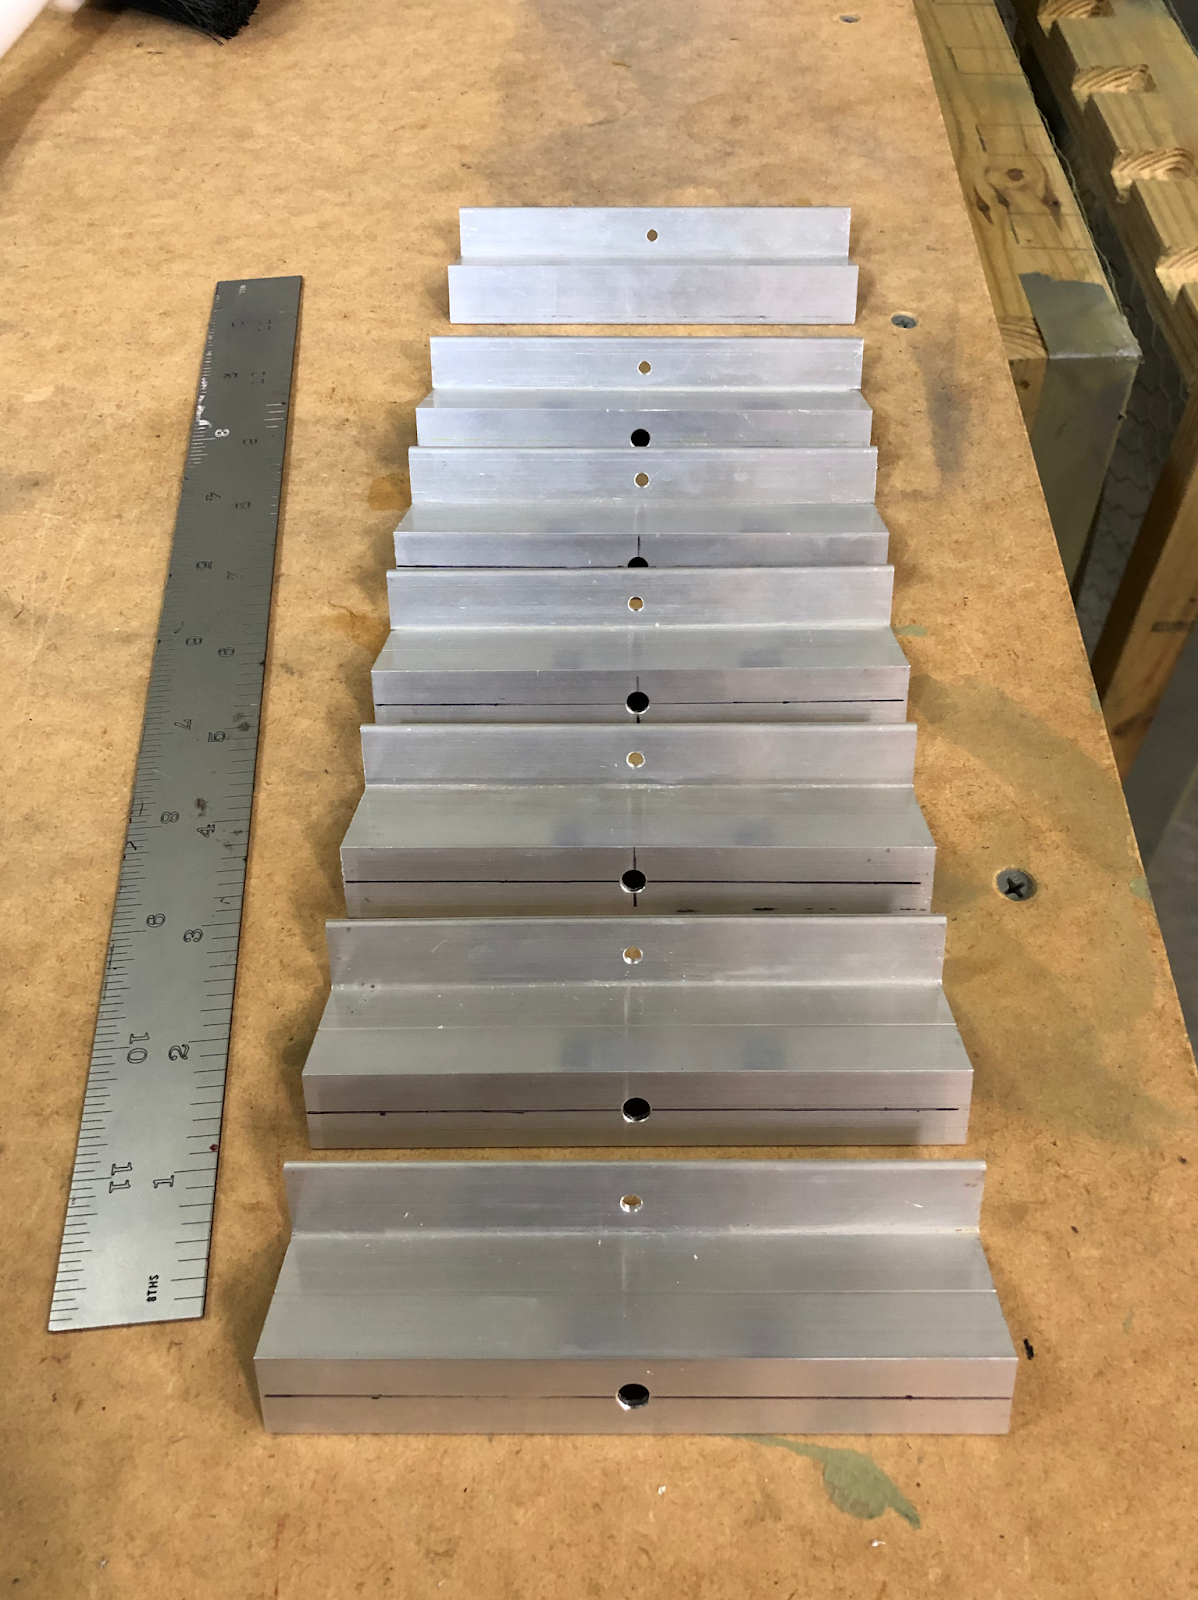
I painstakingly measured, remeasured, marked, punched, and drilled all of the necessary holes in each bracket. On most of the brackets I then opened up some of the 1/8" holes to #12 for the middle bolt of three that will attach the brackets to the spar.


 |
| One set done, one to go. |
To match drill the brackets to the spars I clecoed each bracket on the underside of the spar. The brackets will actually be installed on top (really the forward side) of the spar, but doing it this way allows much easier access with the drill.


A simple 180-degree of rotation of each bracket to the top of the spar after drilling was all it took to get them in their proper place.

Since it would be near impossible to access a nut and a washer back here to attach/remove the tank once assembled, the brackets have nutplates installed. Drilling for nutplates was, as always, a quick and easy affair.

Countersinking and riveting the nutplates on the other hand takes a bit more time. This had to be spread out over a couple of days.
 |
| Since the cage hangs off the edge of each bracket when machine countersinking, I simply butted another bracket up against it to give the cage some support and stability. |
The nutplates needed to be attached to the brackets to proceed any further with work on the tank, so I elected to go ahead and rivet them on before priming the brackets. I'll still be priming these later once I have the time to do so, but this will allow work to continue without having to set up a whole priming session.


I got into a nice groove, countersinking each bracket and immediately riveting the nutplates in place. Before too long I had almost all of the brackets ready to go for each wing. I bolted each in place with two bolts (which should be plenty strong and stable for now).

 |
| All in a row, except for the first one... |